

Getting a professional facial is pricey and indulgent. But with the right products and practice with some good techniques, you can learn how to do them at home. Weekly at-home facials are wonderful for your skin, regardless of type; dry, oily, and combination skin all benefit. They’re also an easy way to feel decadent – with a much lower price tag.
Before starting, you need to know your skin type. If you’re not sure, set aside an hour to figure it out. Remove all traces of makeup from your face, wash it with a gentle cleanser, pat it dry, and let it sit for one hour without applying any products. Try not to touch your face either. After an hour, if your face feels tight and uncomfortable, you have dry skin. If your cheeks feel taut but your T-zone (forehead and nose) feels just clean or a bit oily, you have combination skin. If your face just feels clean but not tight, or a little bit greasy, you likely have oily skin.
If your skin falls under none of these categories – lucky you! You have normal skin which is very low-maintenance.
Now that you know your skin type, you’re ready to begin! Here are some simple steps for a basic at-home facial that will leave your skin smoother, softer, and healthier.
1. Wash your face.
It’s important to use a cleanser specifically formulated for your skin type. Using the wrong one can either be ineffective or dry your face out, both of which can lead to acne flare-ups. If you’re strapped for cash, since cleanser just gets washed down the sink, it can be a good idea to save your money instead for quality moisturizers and other products that stay on your skin.
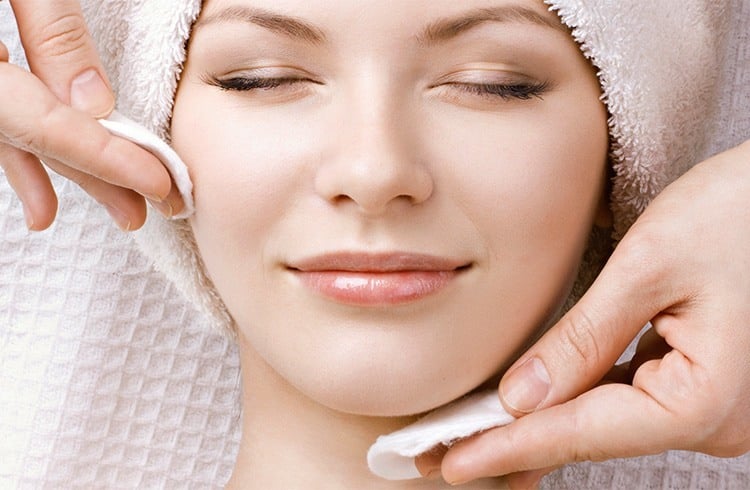
The best way to wash your face is to rinse it in lukewarm water. Then dab the cleanser on your chin, cheeks, forehead, and neck, and massage it in a circular motion for at least sixty seconds, focusing on your nose and chin. Rinse with a warm, wet washcloth.
2. Exfoliate.
Rub a gentle exfoliating scrub on your face, using a circular motion. Focus on your nose and forehead. Then, again, use a warm, wet washcloth to rinse your face.
3. Use steam to open pores.
Fill your sink with hot water, soak a washcloth in it, and hold it to your face two or three times. Or use the teapot method.

4. Smooth on a mask.
Clay-based masks work best for oily skin, while moisturizing cream or gel masks are best for dry skin. Avoid the area around your eyes and keep the mask on for as long as the product instructs you to – generally 10 to 20 minutes. Then rinse well.
5. Moisturize and protect.
Finish it off by massaging a gentle moisturizer into your face and neck. Nu Skin has a great moisturizer line ranging from intense creams to light gels, depending on your skin’s needs.